Recently I found myself with a requirement to use Azure API Management (APIM) and had no idea where to start, so hit the known resources, Microsoft Docs, blogs, Azure Friday, etc. and I finally ended up with a solution and thought I would share.
Background
To give a little background to this, I work in an environment where the company’s Azure estate is managed by a separate team and they are responsible for creating and maintaining the main infrastructure, e.g. Virtual Networks, Firewalls, Application Gateways, Azure AD etc. Including an Azure API Management instance. I am sure many others work in a similar setup. A decision was made that that all APIs should go via the APIM and use Subscription Keys to authenticate.
As you can imagine this lead to many conversations about what is APIM? and how will we configure it for our APIs. A good start for this is the Microsoft Docs – API Management Key Concepts.
The application my team and I work on consists of a set of back-end APIs that are currently implemented using a mixture of Azure Service Fabric and Azure Functions.
Research
A bit of google searching led me to many articles and blogs on how to configure APIM with PowerShell. This is good but I found there is a lot of commands to get your head around. So I thought, what about ARM templates? surely they can be used for this. I however struggled to find much on this subject other than in the Microsoft docs and so decided to give this approach a go and see if I could create a template to configure the APIM. I also figured that as we are using Azure DevOps this would be a nice easy way to auto deploy the configuration to Azure.
Products and APIs
APIM configures Products and APIs. When there are many APIs it makes sense you want to group them under a product.
Each of the APIs for the application is deployed independently and so I needed a template to deploy the product configuration they will be part of.
Product
Configuring a Product at its basic level is one entry in resources that describes the product details.
Note: Full Product template configuration detail can be found here
 {
     "apiVersion": "[variables('apiManagementVersion')]",
     "type": "Microsoft.ApiManagement/service/products",
     "name": "[concat(parameters('ApiManagementInstanceName'), '/', parameters('ApiProductName'))]",
     "dependsOn": [],
     "properties": {
         "displayName": "[parameters('ApiProductDisplayName')]",
         "description": "[parameters('ApiProductDescription')]",
         "subscriptionRequired": "[variables('subscriptionRequired')]",
         "approvalRequired": "[variables('approvalRequired')]",
         "state": "published"
     }
 }
In order to get visibility of the product to developers you need to add a group to the product. The developers group is a built-in group and can be added simply by adding an inner resource to the products entry.
 {
     "apiVersion": "[variables('apiManagementVersion')]",
     "type": "Microsoft.ApiManagement/service/products",
     "name": "[concat(parameters('ApiManagementInstanceName'), '/', parameters('ApiProductName'))]",
     "dependsOn": [],
     "properties": {
         "displayName": "[parameters('ApiProductDisplayName')]",
         "description": "[parameters('ApiProductDescription')]",
         "subscriptionRequired": "[variables('subscriptionRequired')]",
         "approvalRequired": "[variables('approvalRequired')]",
         "state": "published"
     },
     "resources": [{
         "type": "Microsoft.ApiManagement/service/products/groups",
         "apiVersion": "[variables('apiManagementVersion')]",
         "name": "[concat(parameters('ApiManagementInstanceName'), '/',  parameters('ApiProductName'), '/developers')]",
         "dependsOn": [
             "[concat('Microsoft.ApiManagement/service/', parameters('ApiManagementInstanceName'), '/products/', parameters('ApiProductName'))]"
         ],
         "properties": {
             "displayName": "Developers",
             "description": "Developers is a built-in group. Its membership is managed by the system. Signed-in users fall into this group.",
             "builtIn": true,
             "type": "system"
         }
     }]
 }
So the full product template looks like this:
{
    "$schema": "https://schema.management.azure.com/schemas/2015-01-01/deploymentTemplate.json#",
    "contentVersion": "1.0.0.0",
    "parameters": {
        "APIManagementInstanceName": {
            "type": "string",
            "metadata": {
                "description": "The name of the API Management instance"
            }
        },
        "ApiProductName": {
            "type": "string",
            "metadata": {
                "description": "Name of the product the api should be associated with"
            }
        },
        "ApiProductDisplayName": {
            "type": "string",
            "metadata": {
                "description": "Display Name for the product the api should be associated with"
            }
        },
        "ApiProductDescription": {
            "type": "string",
            "metadata": {
                "description": "The product description"
            }
        },
        "ApiProductTagName" :{
            "type": "string",
            "metadata": {
                "description": "The product tag name"
            }
        }
    },
    "variables": {
        "apiManagementVersion": "2019-01-01",
        "approvalRequired": false,
        "subscriptionRequired": true,
        "allowTracing": true
    },
    "resources": [
        {
            "apiVersion": "[variables('apiManagementVersion')]",
            "type": "Microsoft.ApiManagement/service/products",
            "name": "[concat(parameters('ApiManagementInstanceName'), '/', parameters('ApiProductName'))]",
            "dependsOn": [],
            "properties": {
                "displayName": "[parameters('ApiProductDisplayName')]",
                "description": "[parameters('ApiProductDescription')]",
                "subscriptionRequired": "[variables('subscriptionRequired')]",
                "approvalRequired": "[variables('approvalRequired')]",
                "state": "published"
            },
            "resources": [
                {
                    "type": "Microsoft.ApiManagement/service/products/groups",
                    "apiVersion": "[variables('apiManagementVersion')]",
                    "name": "[concat(parameters('ApiManagementInstanceName'), '/',  parameters('ApiProductName'), '/developers')]",
                    "dependsOn": [
                        "[concat('Microsoft.ApiManagement/service/', parameters('ApiManagementInstanceName'), '/products/', parameters('ApiProductName'))]"
                    ],
                    "properties": {
                        "displayName": "Developers",
                        "description": "Developers is a built-in group. Its membership is managed by the system. Signed-in users fall into this group.",
                        "builtIn": true,
                        "type": "system"
                    }
                }
            ]
        },
        {
            "apiVersion": "[variables('apiManagementVersion')]",
            "type": "Microsoft.ApiManagement/service/tags",
            "name": "[concat(parameters('APIManagementInstanceName'), '/', parameters('ApiProductName'))]",
            "dependsOn": [
                "[concat('Microsoft.ApiManagement/service/', parameters('APIManagementInstanceName'), '/products/', parameters('ApiProductName'))]"
            ],
            "properties": {
                "displayName": "[parameters('ApiProductTagName')]"
            }
        }
    ]
}
API
Now the product is configured, the next step is to configure the APIs. All of the APIs we have use OpenAPI (formally swagger), so the template below shows how to configure this type of entry.
Note: Full API template configuration detail can be found here
{
    "apiVersion": "[variables('apiManagementVersion')]",
    "type": "Microsoft.ApiManagement/service/apis",
    "name": "[concat(parameters('ApiManagementInstanceName'), '/', parameters('ApiName'))]",
    "dependsOn": [],
    "properties": {
        "format": "swagger-link-json",
        "value": "[parameters('OpenApiUrl')]",
        "path": "[parameters('ApiPath')]",
        "protocols": "[parameters('ApiProtocols')]"
    }
}
Now the API needs to link to the Product that was created in the
product template earlier.
{
    "apiVersion": "[variables('apiManagementVersion')]",
    "type": "Microsoft.ApiManagement/service/products/apis",
    "name": "[concat(parameters('APIManagementInstanceName'), '/', parameters('ApiProductName'), '/',parameters('ApiName'))]",
    "dependsOn": [
        "[concat('Microsoft.ApiManagement/service/', parameters('ApiManagementInstanceName'), '/apis/', parameters('ApiName'))]"
    ],
    "properties": {}
}
As APIs are added to the APIM I can see it is going to get a little hard to navigate the without adding tags to the APIs. Adding a tag is easy and can be done with the following configuration:
{
    "apiVersion": "[variables('apiManagementVersion')]",
    "type": "Microsoft.ApiManagement/service/tags",
    "name": "[concat(parameters('APIManagementInstanceName'), '/', parameters('ApiProductTagName'))]",
    "dependsOn": [],
    "properties": {
        "displayName": "[parameters('ApiProductTagDisplayName')]"
    }
},
{
    "apiVersion": "[variables('apiManagementVersion')]",
    "type": "Microsoft.ApiManagement/service/apis/tags",
    "name": "[concat(parameters('APIManagementInstanceName'), '/', parameters('ApiName'), '/', parameters('ApiProductTagName'))]",
    "dependsOn": [
        "[concat('Microsoft.ApiManagement/service/', parameters('ApiManagementInstanceName'), '/apis/', parameters('ApiName'))]"
    ],
    "properties": {}
}
The final API template looks like this:
{
    "$schema": "https://schema.management.azure.com/schemas/2015-01-01/deploymentTemplate.json#",
    "contentVersion": "1.0.0.0",
    "parameters": {
        "APIManagementInstanceName": {
            "type": "string",
            "metadata": {
                "description": "The name of the API Management instance"
            }
        },
        "OpenApiUrl": {
            "type": "string",
            "metadata": {
                "description": "This is the URL to the swagger.json entry for your API"
            }
        },
        "ApiProtocols": {
            "type": "array",
            "metadata": {
                "description": "The array of allowed protocols for the API e.g. HTTP, HTTPS"
            }
        },
        "ApiProductName": {
            "type": "string",
            "metadata": {
                "description": "Name of the product the api should be associated with"
            }
        },
        "ApiName": {
            "type": "string",
            "metadata": {
                "description": "Name of the API entry in APIM"
            }
        },
        "ApiPath": {
            "type": "string",
            "metadata": {
                "description": "The path for the API Url Suffix"
            }
        },
        "ApiProductTagName" :{
            "type": "string",
            "metadata": {
                "description": "The product tag name"
            }
        },
        "ApiProductTagDisplayName" :{
            "type": "string",
            "metadata": {
                "description": "The product tag display name"
            }
        }
    },
    "variables": {
        "apiManagementVersion": "2019-01-01",
        "subscriptionRequired": true
    },
    "resources": [{
            "apiVersion": "[variables('apiManagementVersion')]",
            "type": "Microsoft.ApiManagement/service/apis",
            "name": "[concat(parameters('ApiManagementInstanceName'), '/', parameters('ApiName'))]",
            "dependsOn": [],
            "properties": {
                "format": "swagger-link-json",
                "value": "[parameters('OpenApiUrl')]",
                "path": "[parameters('ApiPath')]",
                "protocols": "[parameters('ApiProtocols')]"
            }
        },
        {
            "apiVersion": "[variables('apiManagementVersion')]",
            "type": "Microsoft.ApiManagement/service/products/apis",
            "name": "[concat(parameters('APIManagementInstanceName'), '/', parameters('ApiProductName'), '/',parameters('ApiName'))]",
            "dependsOn": [
                "[concat('Microsoft.ApiManagement/service/', parameters('ApiManagementInstanceName'), '/apis/', parameters('ApiName'))]"
            ],
            "properties": {}
        },
        {
            "apiVersion": "[variables('apiManagementVersion')]",
            "type": "Microsoft.ApiManagement/service/tags",
            "name": "[concat(parameters('APIManagementInstanceName'), '/', parameters('ApiProductTagName'))]",
            "dependsOn": [],
            "properties": {
                "displayName": "[parameters('ApiProductTagDisplayName')]"
            }
        },
        {
            "apiVersion": "[variables('apiManagementVersion')]",
            "type": "Microsoft.ApiManagement/service/apis/tags",
            "name": "[concat(parameters('APIManagementInstanceName'), '/', parameters('ApiName'), '/', parameters('ApiProductTagName'))]",
            "dependsOn": [
                "[concat('Microsoft.ApiManagement/service/', parameters('ApiManagementInstanceName'), '/apis/', parameters('ApiName'))]"
            ],
            "properties": {}
        }
    ]
}
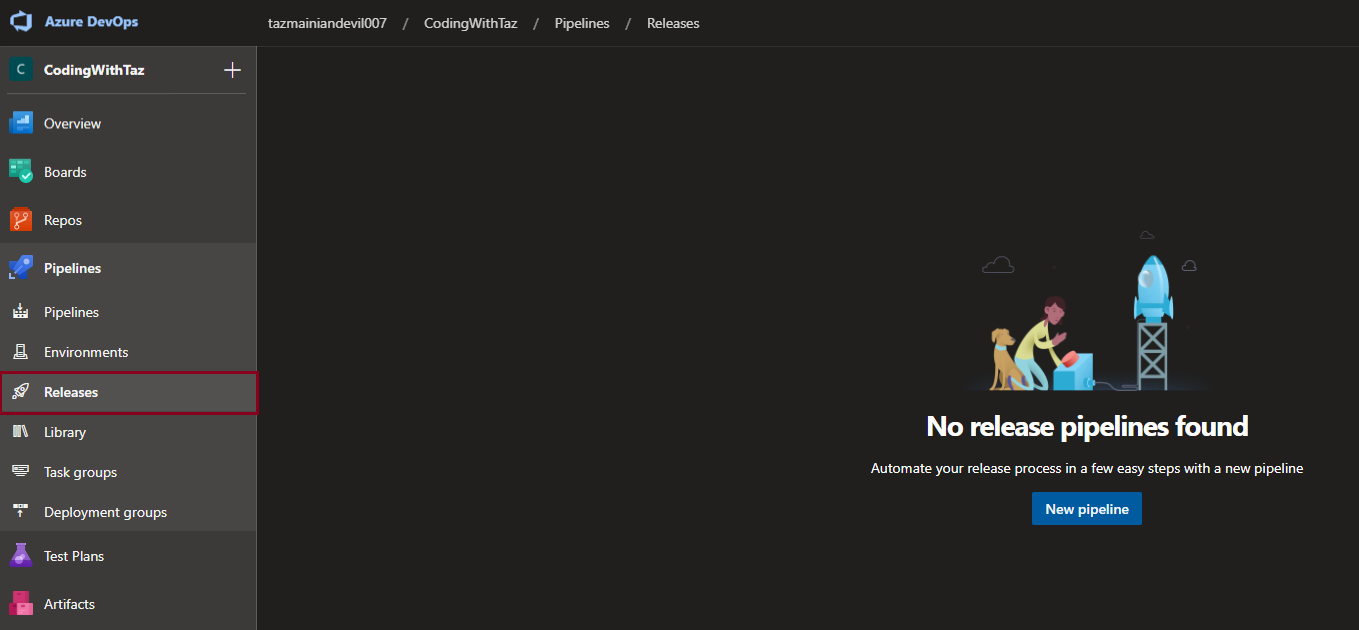
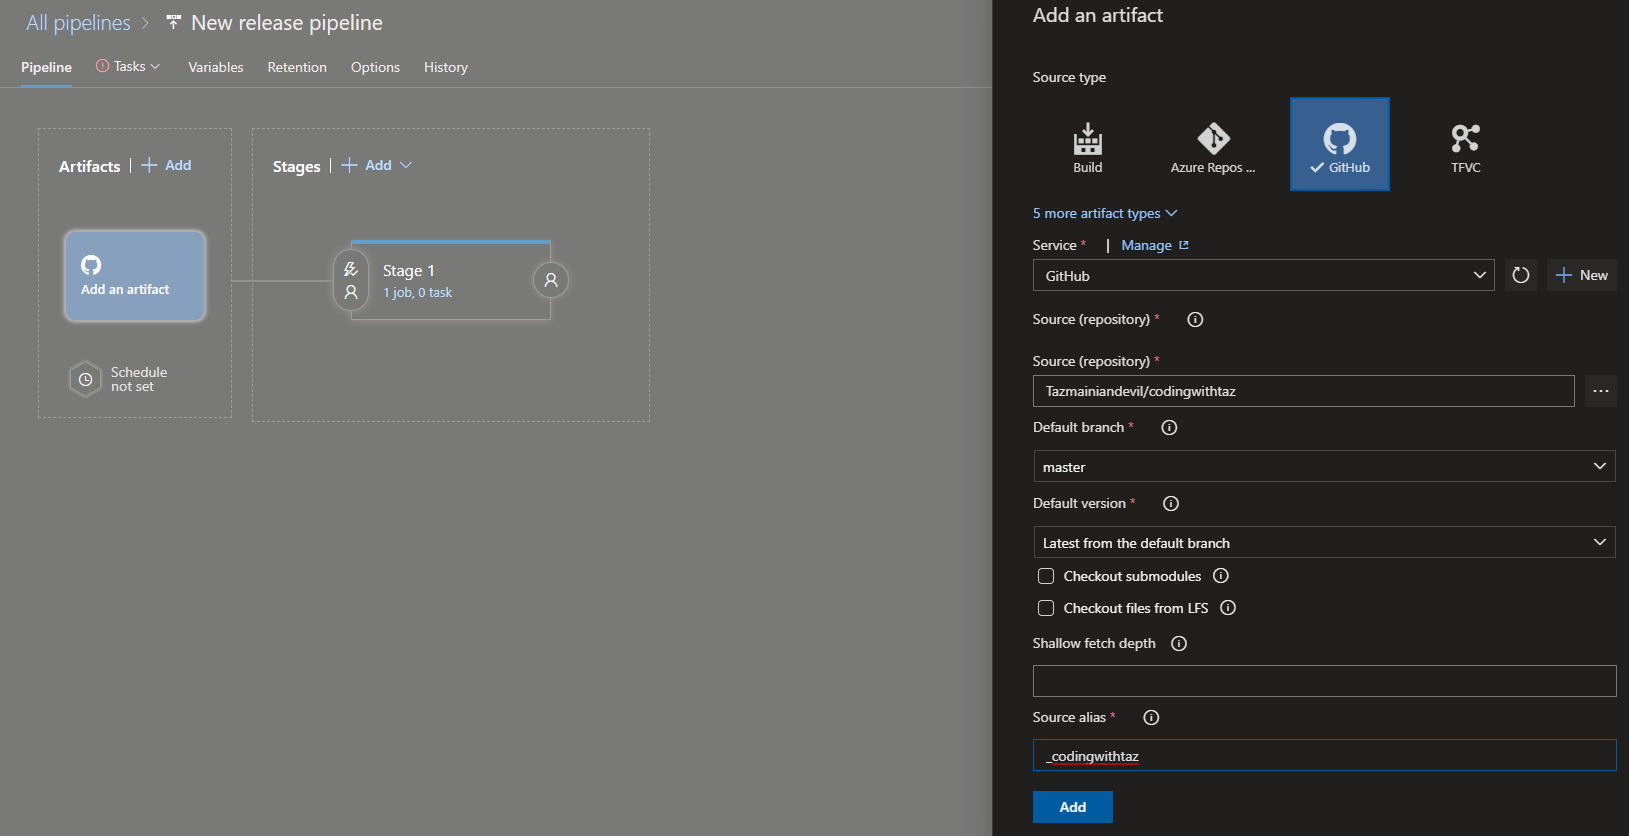
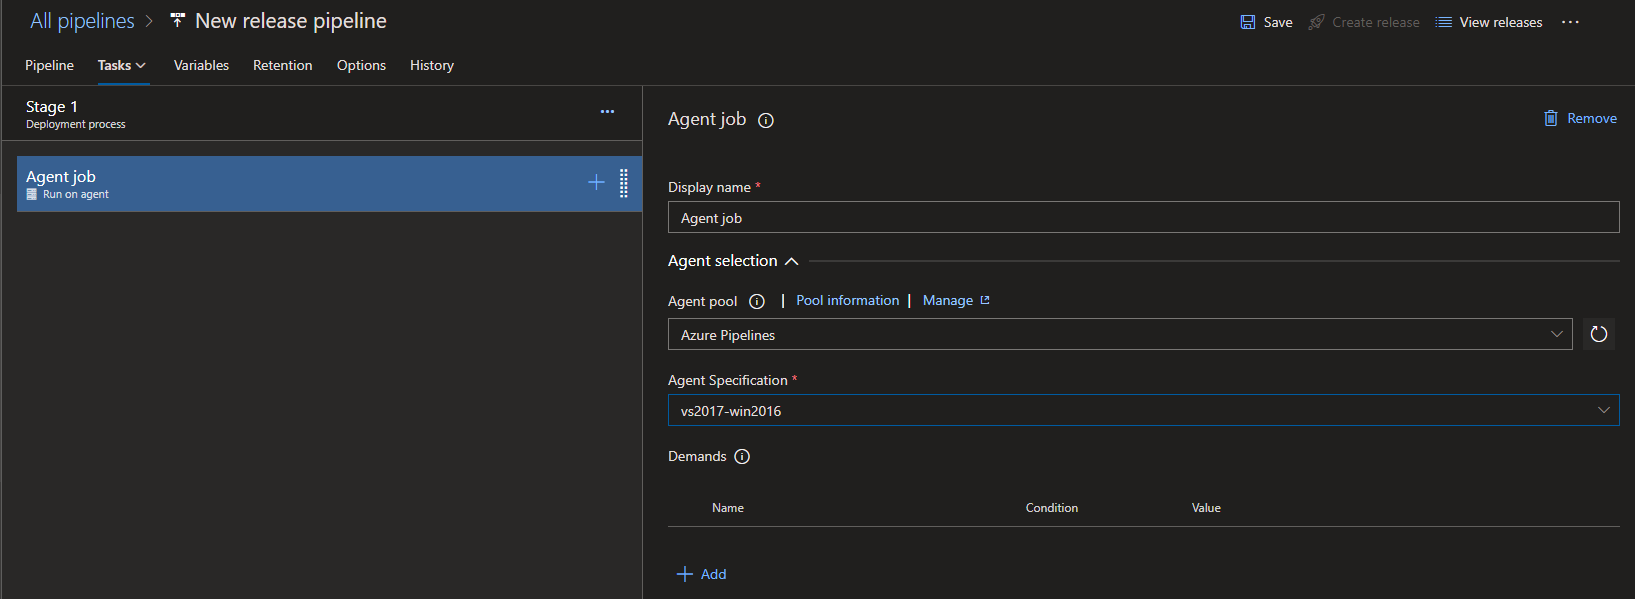
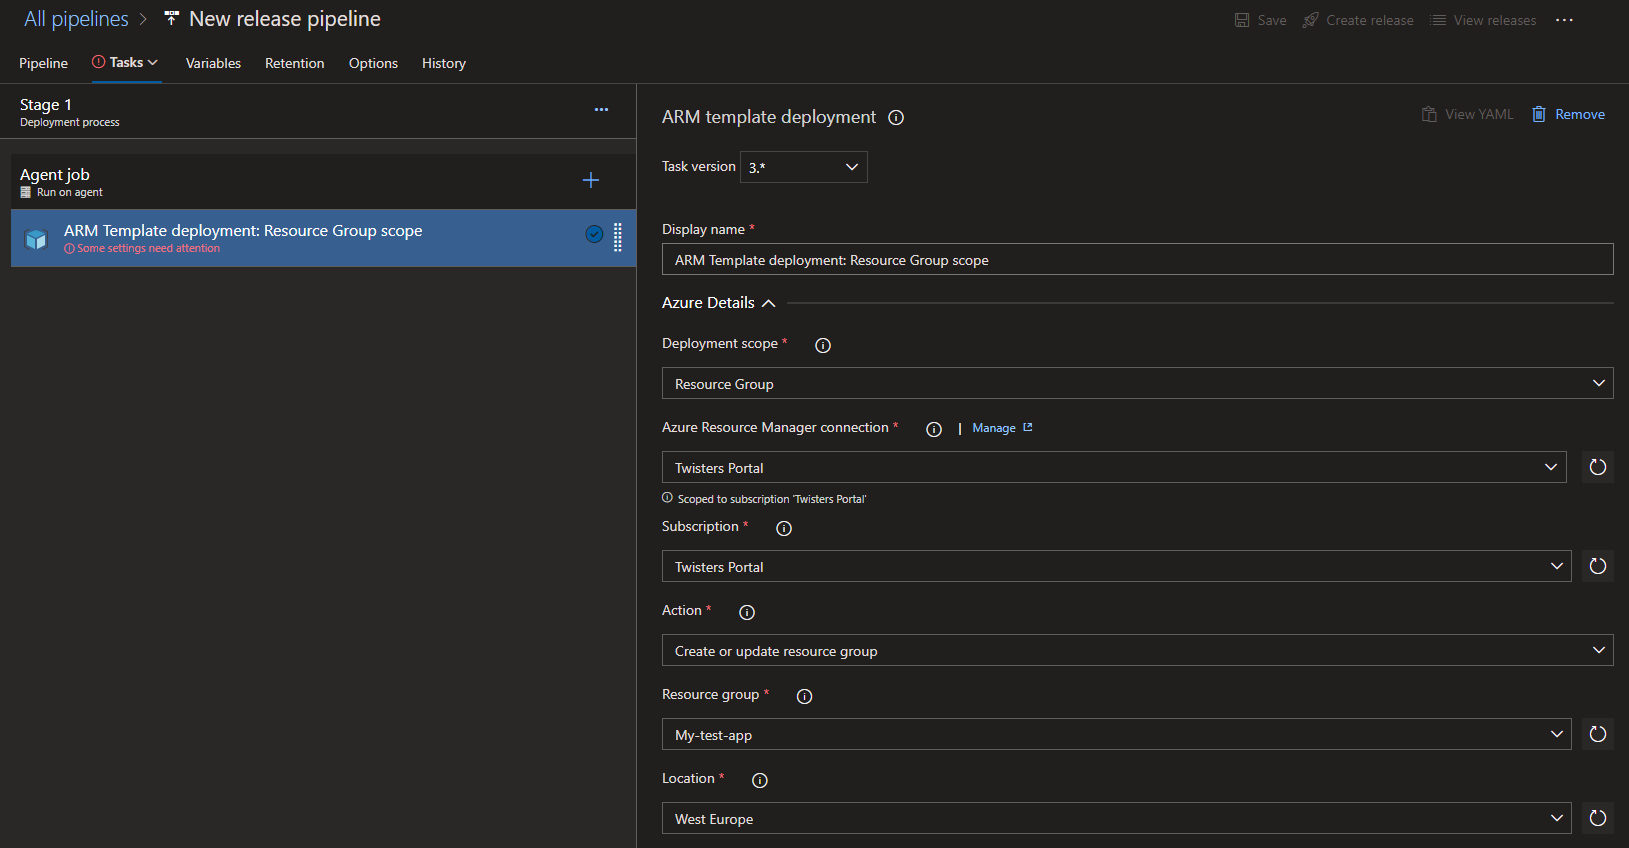
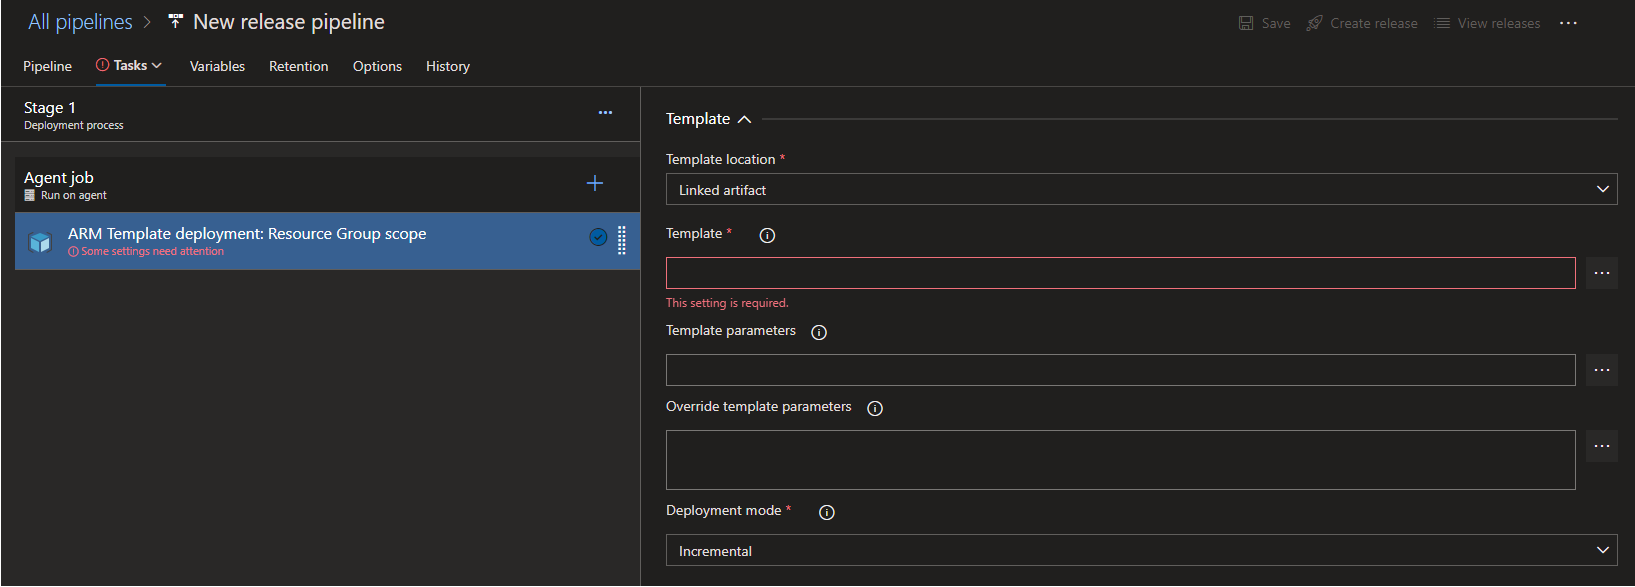
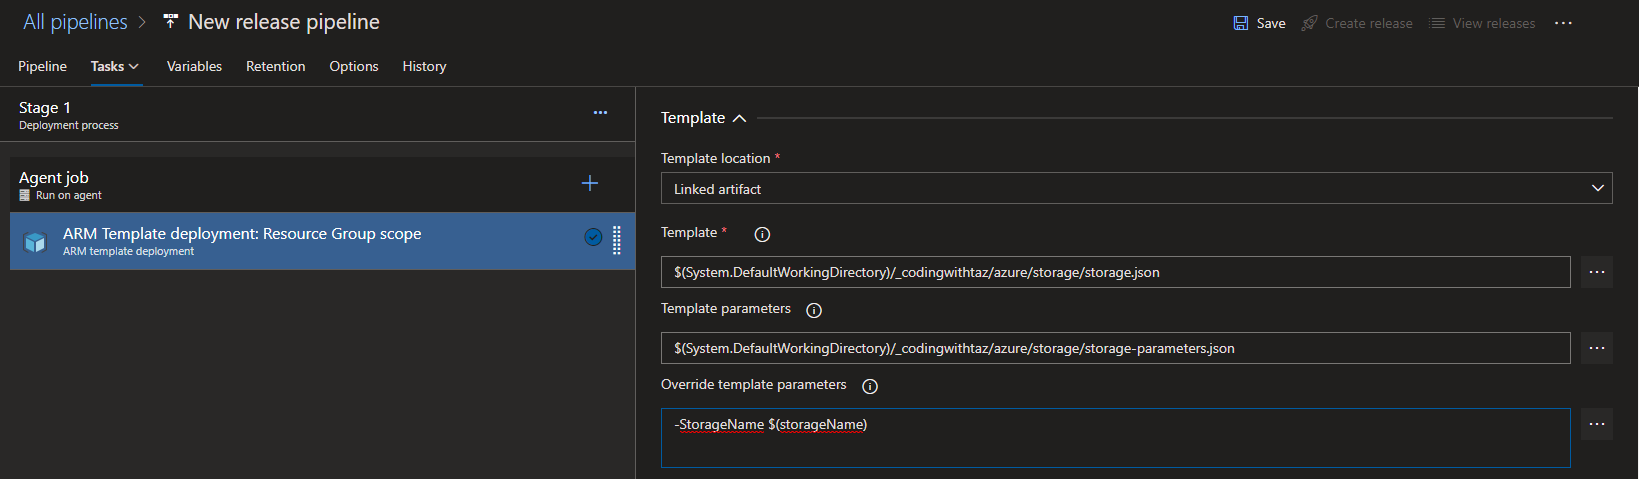
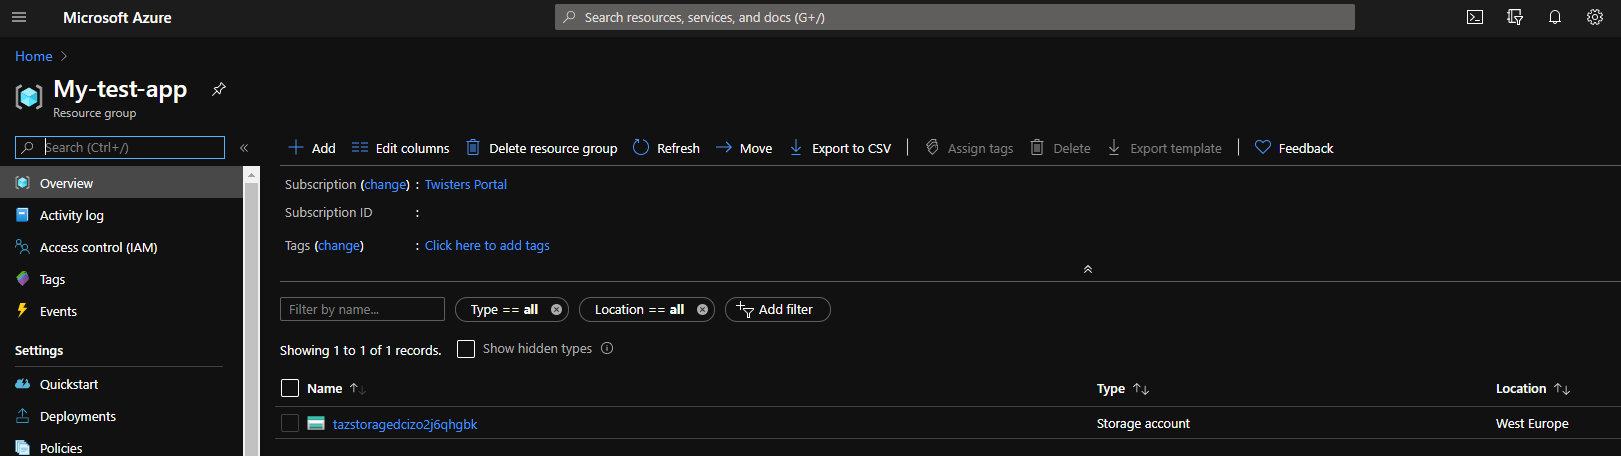
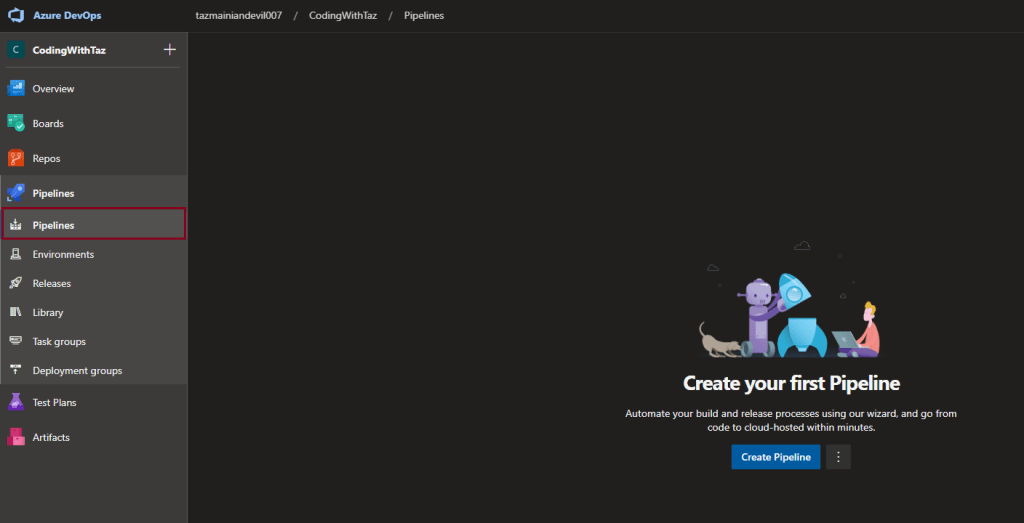
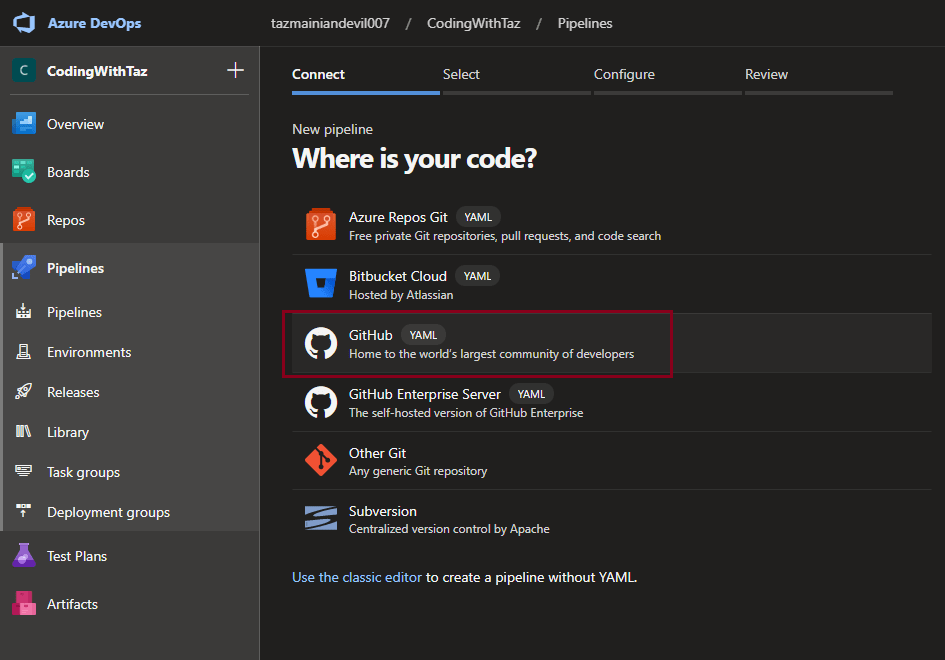
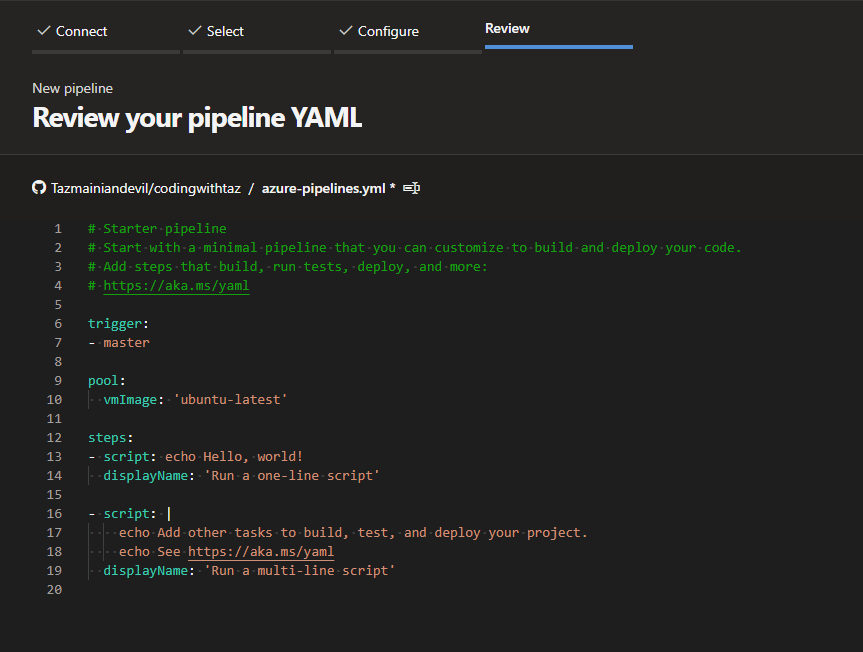
The templates can be deployed via PowerShell, Azure Cli or by a deployment pipeline like Azure DevOps.
I hope others find this is helpful, I personally have found this journey quite enjoyable and interesting.
I am looking deeper into API Management, specifically around security with OAuth 2.0 and MSI. I’ll add a post when I find out more.
Notes
The final templates shown above can be found on my github under the repository codingwithtaz.
If anyone is interested in using OpenAPI with Azure Functions v2, I used this nuget package to generate the swagger json, more details can be found here.